We had a look into the issue and discovered that several reasons, including the following, can cause it:
An issue with the TEMP directory – in most cases, the issue was related to the TEMP directory, and users managed to resolve it by changing the default TEMP directory to C:\TEMP.Generic corruption error – the troubleshooter might also be dealing with some kind of inconsistency or a corruption error, preventing it from performing the action successfully.Third-party antivirus interference – the third-party antivirus programs interrupt the troubleshooter’s process, causing the error 0x80070057. If you are using any such software on your computer, you can temporarily disable them and check if that makes any difference.
Now that you know about the error’s potential causes let’s look at the troubleshooting methods that will help you fix the problem. Before proceeding, we recommend that you temporarily disable any third-party antivirus program you might use. While these programs protect your system from potential threats, they also have a bad reputation for interfering in the troubleshooting processes. Once you have disabled them, you can get started with the first solution we have listed below.
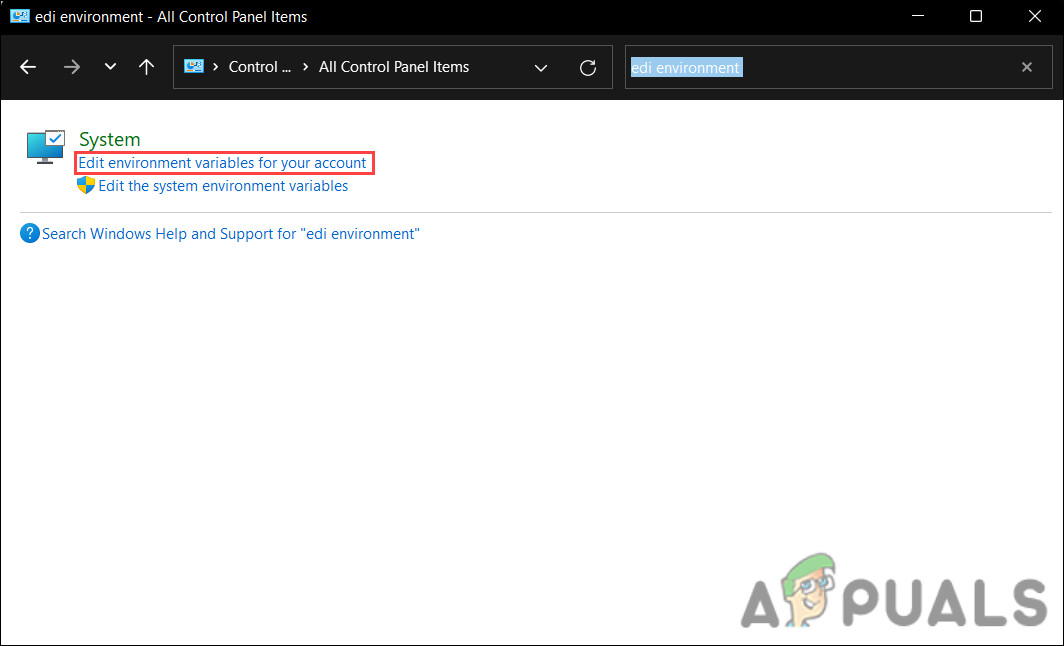
1. Change the TEMP Directory
Temp directories or temp folders are directories on storage devices, such as hard drives, used to store temporary files. This directory is usually named TEMP and contains files ending with .tmp. In the case of the error code 0x80070057, most users found that the issue was caused if the TEMP folder was pointing to a RAM drive. The compatibility troubleshooter does not work well with the RAM drives for some reason, and to fix the issue, you must change the TEMP directory to C:\TEMP. To proceed, here is all that you need to do: Hopefully, the troubleshooter will run fine this time.
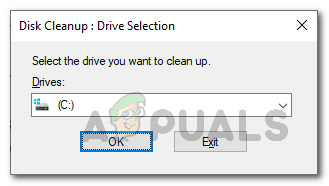
2. Run the Disk Cleanup Utility
This fix is also related to the one we just discussed above. If the TEMP folder is in the correct directory already, you can try running the disk cleanup utility to scan for any corrupt files in the folder. This utility will find the problems and fix them in no time. Follow these steps to proceed:
3. Use System Restore
Another easy way of resolving the issue is by using the System Restore utility. It is like an undo feature in Windows that allows you to revert to a previous working state while fixing the issue. This utility works by creating restore points in the system from time to time. The restore points are snapshots of the working state of Windows at the point. If an error causes your system to act up in the future, you can use these restore points to go back to a system state where the error was not present. Follow these steps to proceed: Once the system is reverted to a previous working state, check if you can now use the compatibility troubleshooter.
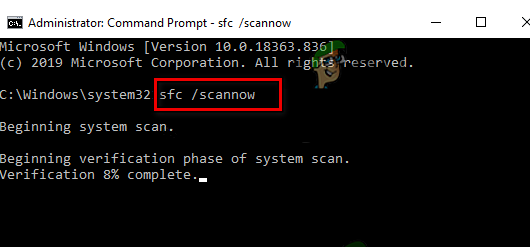
4. Run a System Scan
As we mentioned earlier, you can also run into this error if there is an underlying corruption error or inconsistency within the system. Issues like these are quite common but fortunately, fixing them is not as complicated as it may sound. Microsoft has packed Windows with many troubleshooting utilities that can scan the system for potential errors. If these tools find any issues, they can fix them without requiring input from your side. If the utilities cannot fix the issue, they will recommend suggested fixes that you can go ahead with. In the case of this error, we recommend you scan the system using the System File Checker (SFC). This tool can check the system for issues and replace corrupt files with their healthier cached counterparts. You can run the System File Checker using Command Prompt in Windows 10 and 11. Here is how you can proceed: Wait for the utility to run its scan and implement fixes for the issues identified. Once that is done, you can close the Command Prompt window and check if the issue is resolved. If you are still facing the problem, it is best to contact the Microsoft support team and report the issue to them. They will be able to look for the cause of the error in your case and then suggest the fixes. Meanwhile, you can try using another troubleshooter to perform the task causing the error on your computer.
How to Fix Error Code 0x80070057 When Trying to Enable Hyper-V on Windows 10Troubleshoot Windows Update Error 0x80070057 (Easy Fix)FIX: Credential Manager Error 0x80070057 “the parameter is incorrect"Fix: Task Scheduler Error 0x80070057