You can change the date and time in four different ways:
Using Windows SettingsUsing Control PanelUsing PowerShellUsing Command Prompt
Through Settings
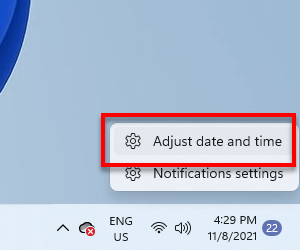
- On the right corner of the taskbar, right-click the date and choose the Adjust date and time option.
- Scroll down to the Set the date and time manually section and tap the Change option located next to it. Note – While changing the date and time manually, you should disable the automatic feature.
- Set the correct date and time by tapping on the drop-down icon located next to the respective menu. Finally, click Change, and it will be changed immediately. Related Guide: How to Enable Dark Mode in Windows 11
Through Control Panel
- Open the Control panel on your Windows 11 PC.
- Tap on the Clock and Region option.
- Select the Set the time and date option under the Date and Time section.
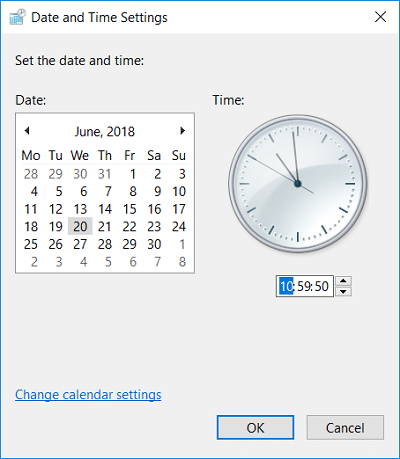
- Tap the Change Date and Time option on the pop-up.
- Enter the correct date and time and click on OK to apply the changes.
Using PowerShell
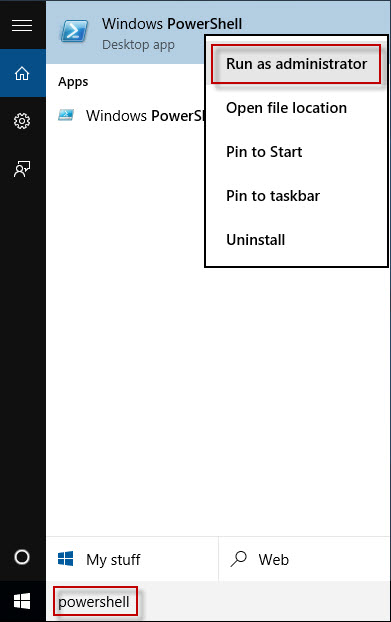
- Click the Search menu and search for Windows Powershell.
- Right-click on it and choose the Run as administrator option.
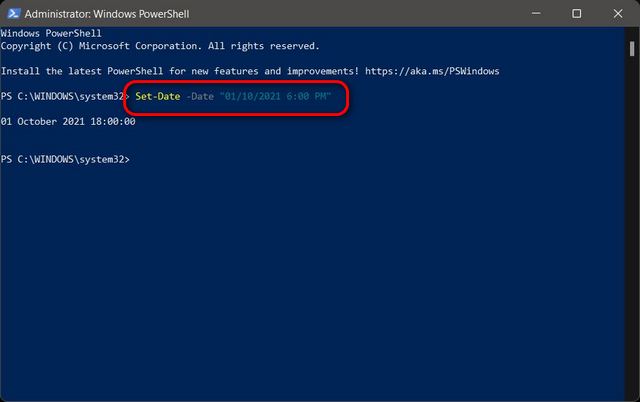
- Enter the command: or For example: or
- Press Enter, and the time will be changed.
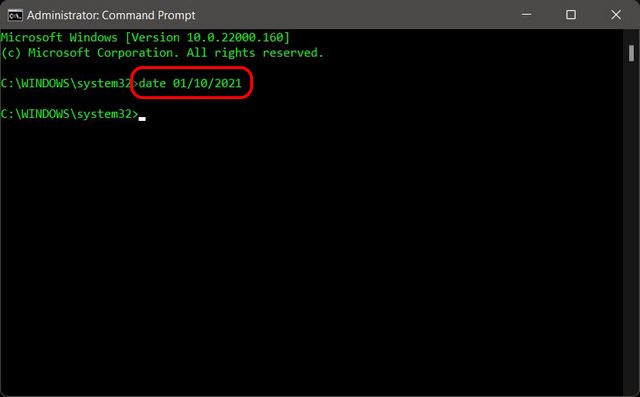
With Command Prompt
- On the search bar, type cmd and choose the Run as Administrator option.
- To change the date, type the command or
- To change the time, Related Guide: How to Check Screen On Time in Windows 11 Microsoft has introduced various features in Windows 11. Try it and explore the new features on your PC when it is available as a free update. Install the OS only from the official source. Use the comments section to mention the feedback related to this guide.