If you’re facing this same issue after migrating to Windows 11, you should know that there are several different underlying scenarios that are most likely causing the problem in your case. We’ve put them all together in a shortlist with all the potential culprits that are confirmed to be causing this widespread Windows 11 issue:
Do a Remote ShutDown & Restart (temporary fix)
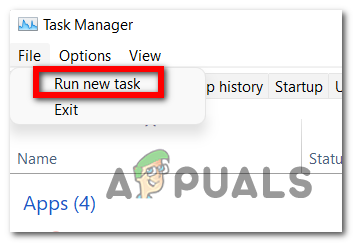
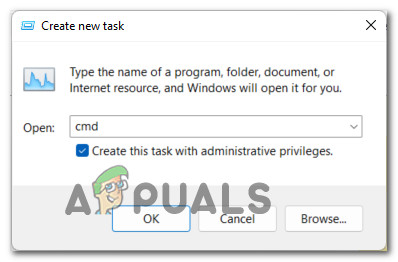
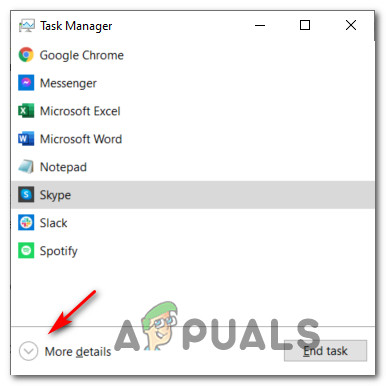
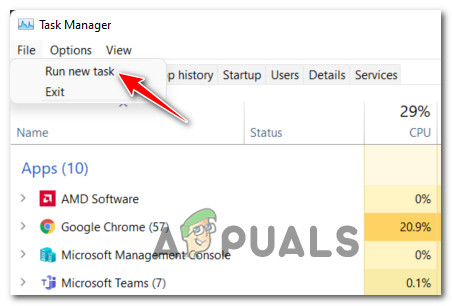
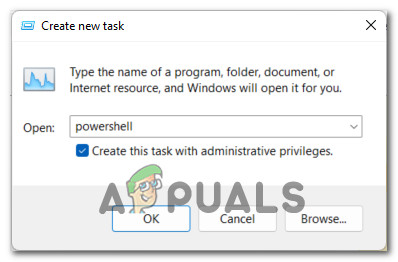
If you’re looking for a quick fix that will allow you to get past the black screen and reboot your computer normally, creating a new Task manager task with ‘shutdown /s /f‘ is probably the best way to go. However, keep in mind that this fix is only temporary – Expect the issue to return the next time you attempt to boot your Windows 11 PC up from hibernation. Note: This fix is a great way of being able to enforce the other fixes featured in this article if you are stuck in the black screen loop (every attempt at restarting results in the same black screen issue). If you want to give this temporary fix a try, follow the instructions below to learn how to do a remove shutdown & restart from a Task Manager task:
Install every pending Windows 11 Update
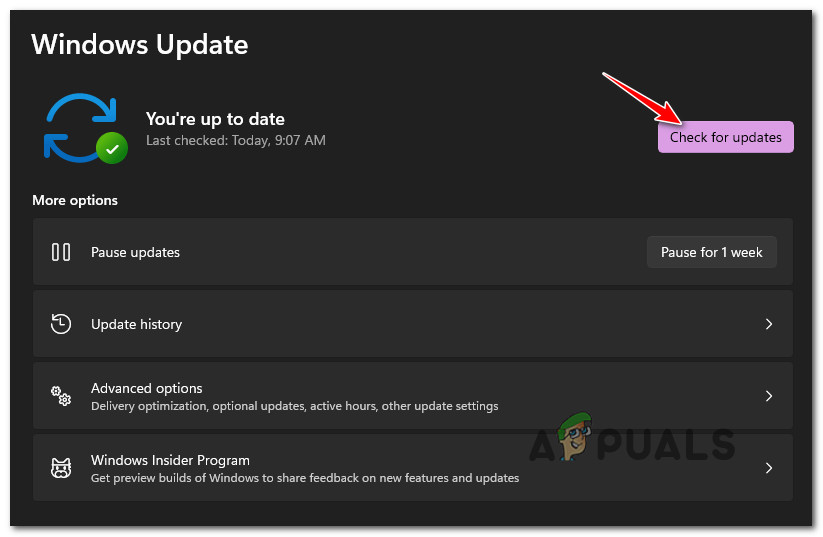
Before you go through every other fix, you should start by making sure you’re running on the latest available Windows 11 build. As we’ve mentioned in the short description above, this problem was originally caused due to a bad Windows Update released for the development build of Windows 11. Since then, Microsoft has released a series of hotfixes that eventually resolved this problem (if it was caused by a bad update in the first place). As of now, you’ll need to update to Windows 11 build 22000.176 to eliminate a bad update off your culprit’s list. This method is confirmed to work for all Windows 11 builds (development, beta, and public). Follow the instructions below for set by step instructions on install every pending Windows 11 update in order to bring your build to the latest one available: In case the same type of issue is still occurring, move down to the next potential fix below.
Adjust value data of Winlogon
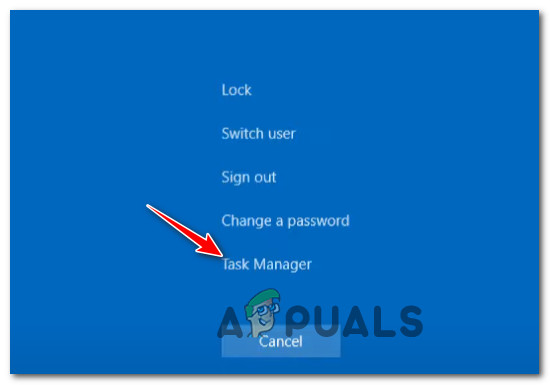
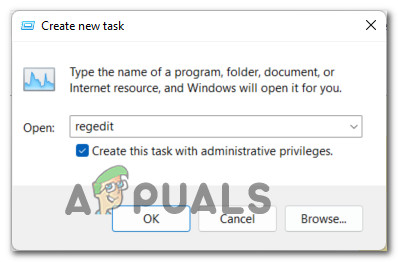
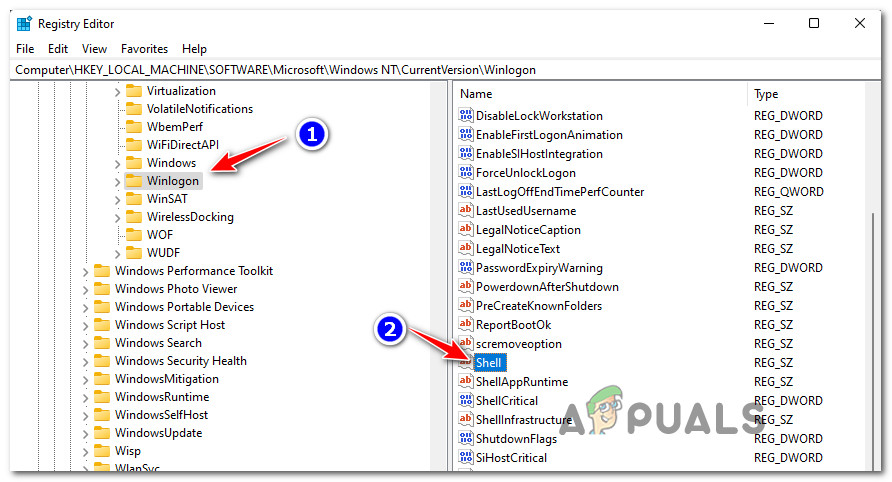
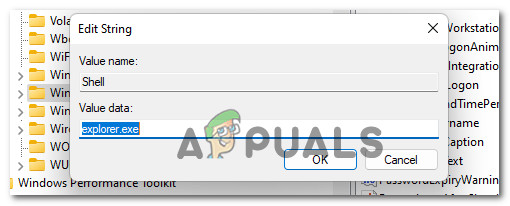
As it turns out, there are certain scenarios where the Winlogon component is modified to prevent the main Windows Explorer process (explorer.exe) from starting right after the user gets past the login screen. Note: This behavior is quite common among users that have upgraded to Windows 11 from an older Windows version instead of clean installing. The problem seems to be caused by bad file migration. If this scenario is applicable, you will get stuck in a black screen with no way of going back or getting your taskbar to show. Fortunately, you can resolve this issue by forcing your way into Task Manager and creating a new task that modifies the Winlogon behavior so that explorer.exe is called into action immediately after you complete the logins screen. Follow the guide below for step by step instructions on how to do this: In case the same kind of issue is still occurring, move down to the next potential fix below.
Do a Language Ovveride via Powershell
As it turns out, there’s also a chance that you’re dealing with a language bug that’s only affected users that have previously configured Windows 11 for a different language than English (US). If this bug is what’s making you get stuck in the black screen loop, you can probably resolve the issue by forcing a Windows UI language override from an elevated Powershell command. Several affected users that we’re dealing with the same kind of issue have confirmed that they were finally able to bypass the black screen after doing this. Note: If the fix is successful in your particular case, you can go back to your regular language from the Settings menu. In case you’re looking for step-by-step guidance on enforcing this fix, follow the instructions below: In case this method was not effective in your case, move down to the next potential fix below.
Reinstall the AMD drivers using AMD Radeon Software Updater (if applicable)
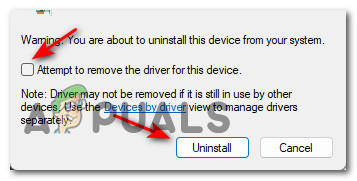
If you’re using an AMD Rysen CPU or a GPU from the same manufacturer, there’s a decent chance that you’re encountering this issue due to bad updates that Windows Update installed by mistake. As it turns out, there is an issue with how WU interprets the updates that need to be installed on insider Windows 11 builds (particular for the beta version) and might install the wrong version of AMD drivers which might force your PC to become stuck in a boot loop. Important: This fix is only applicable if you’re using an AMD GPU. If this scenario is applicable, you should avoid using Windows Update for updating your AMD drivers and instead use the AMD Radeon Software Updater to install the correct drivers according to your current configuration. Follow the instructions below to get rid of the bad drivers and install the correct equivalents using the AMD Radeon Software Updater: In case you’re still presented with the same black screen the next type you attempt to boot up your Windows 10 computer, move down to the next method above.
Install the non-WHQL driver from AMD in Safe Mode (if applicable)
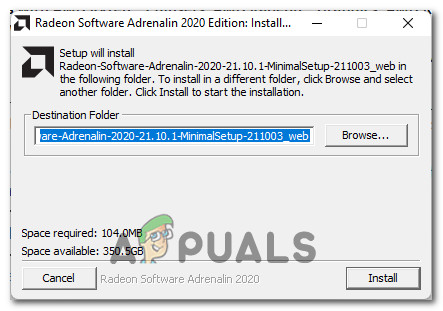
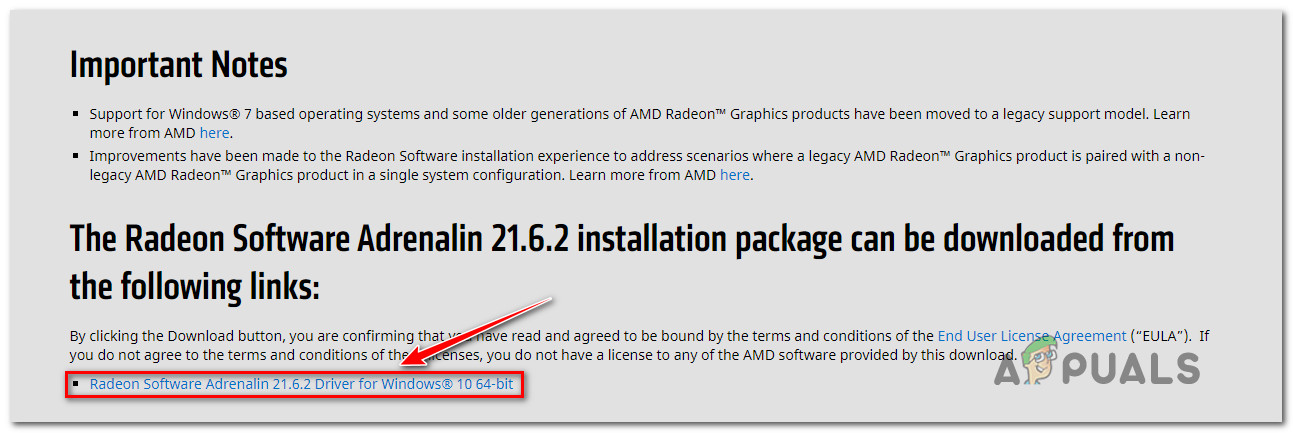
In case you’re using AMD hardware and you’ve started experiencing the black screen issue on Windows 11 immediately after restarting after a Windows Update was installed, chances are the issue is occurring due to a conflict between explorer.exe and an incompatible WHQL driver. Several affected users that we’re also dealing with this problem have confirmed that they managed to get the issue fixed after they booted into Safe Mode and downloaded & installed the latest stable version of the non-WHQL driver from AMD (21.6.2.) After doing so and rebooting, Windows 11 booted into the GUI without getting stuck in the same black screen loop. Important: Disregard this method if you don’t have AMD hardware (CPU or GPU). Follow the instructions below to install the non-WHQL driver from AMD and resolve the black screen issue on Windows 11: If everything went smoothly, you should be able to boot normally and avoid the black screen issue on Windows 11 entirely. In case this method was not applicable to your current hardware configuration or you followed it without success, move down to the next method below.
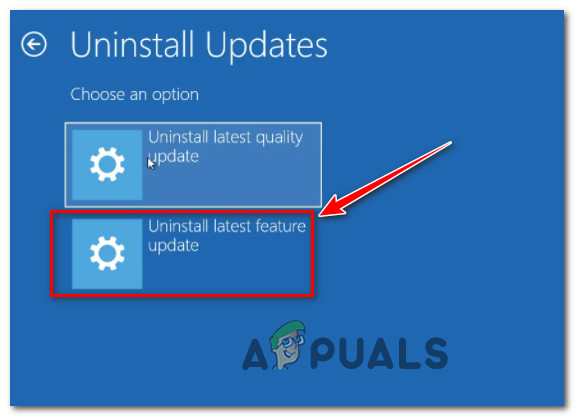
7. Uninstall the latest feature updates
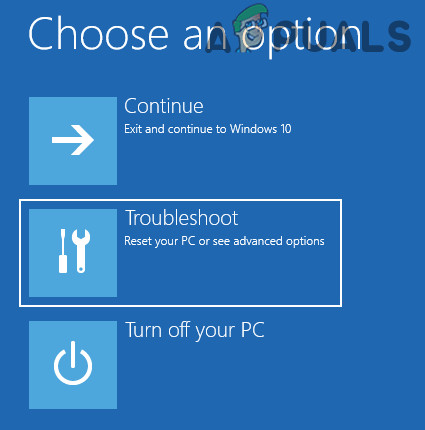
If none of the methods above have been effective in your case, and you only noticed the issue appearing after you installed a pending Windows update, chances are Microsoft has released yet another bad update that ended up causing this black screen issue on Windows 11. Typically when you find yourself in this particular scenario, you should be able to fix the issue by forcing your PC to enter Windows Recovery. Once you’re inside, you can easily uninstall the latest feature update to hopefully resolve the problem. Note: Keep in mind that this issue isn’t necessarily caused by a bad update. It could have just as easily been caused by an unexpected system interruption while your system was busy installing the pending update – in this case, uninstalling the latest update will force your OS to install it again properly. Follow the instructions below to force your Windows 11 computer to boot into Windows Recovery mode and uninstall the latest feature update: If this scenario is not applicable, move down to the next potential fix below.
Install a Non-N Version of Windows 11 (if applicable)
In case you’re encountering this issue after installing an N version of Windows 11, you might want to migrate over to a non-N version of this operating system. Other affected users finding themselves in a similar scenario have confirmed that they managed to fix the issue after they got rid of their N version and clean installed a regular version once again. If you’re at a means-end and this is the only option left, follow these instructions to clean install a non-N version of Windows 11. Just make sure to pick a non-N version when you’re prompted to select an operating system version by the Windows Setup installation screen.
How to Fix Windows 10 Black Screen with Cursor Issue?Fix: Black Screen With Cursor (BSOD) on Windows 7, 8 and 10How to Fix Cursor Blinking in Windows 10?FIX: Windows 10 Cursor Freezes/Stuck