As is the case with all other Windows components, however, things can spontaneously go awry with DirectX, and when they do, the user faces a host of different multimedia problems on their computer. From being locked out of their favorite games to not being able to play video or even audio files, there’s a lot you have to lose if DirectX stops working as it is supposed to. In the event that DirectX does break, there’s a lot you can do to try and fix it – first and foremost, you should run an SFC scan as DirectX files are classified as system files, and an SFC scan is designed to scan for and fix problems with system files on a Windows computer. If an SFC scan doesn’t fix the problem, however, reinstalling DirectX becomes the recommended course of action for you. On every version of Windows, though, DirectX is integrated into the Operating System and is a part of it, so completely uninstalling it and then reinstalling it is simply not possible. There are, however, other ways to get the job done. If you want to reinstall DirectX on a Windows computer, the following are the two best ways you can go about doing so:
Method 1: Repair installing DirectX using the DirectX End-User Runtime Web Installer
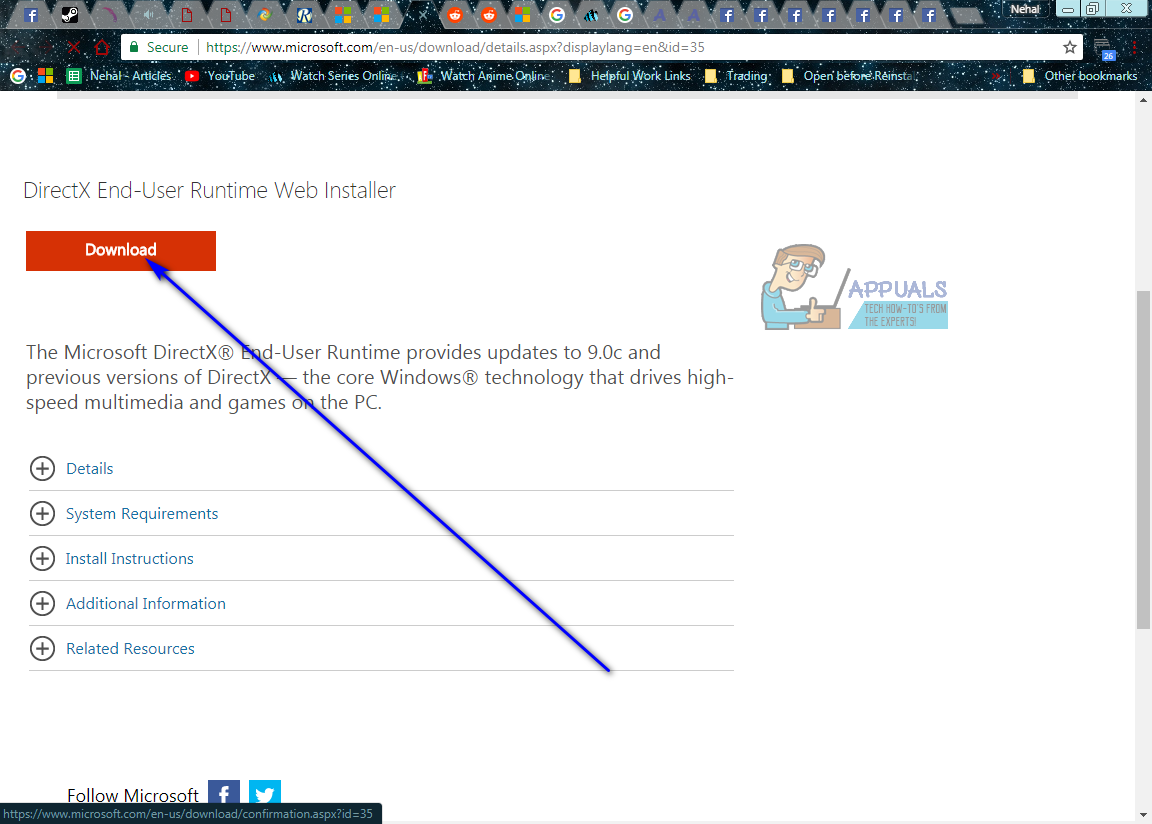
On all versions of Windows that are currently supported by Microsoft, DirectX is installed via Windows Update and updates for DirectX are shipped through Windows Update as well. There exists, however, a redistributable installer package for DirectX that Windows released back in 2010. This redistributable can be used to repair install DirectX – doing so overwrites all DirectX files on a Windows computer with fresh ones, getting rid of damaged or corrupted ones, which is the ambition of a reinstallation. To repair install DirectX on a Windows computer using the DirectX End-User Runtime Web Installer, you need to: Once the repair installation is done and dusted, you are free to delete the folder full of the DirectX End-User Runtime Web Installer’s files created by the installer you downloaded off Microsoft’s website.
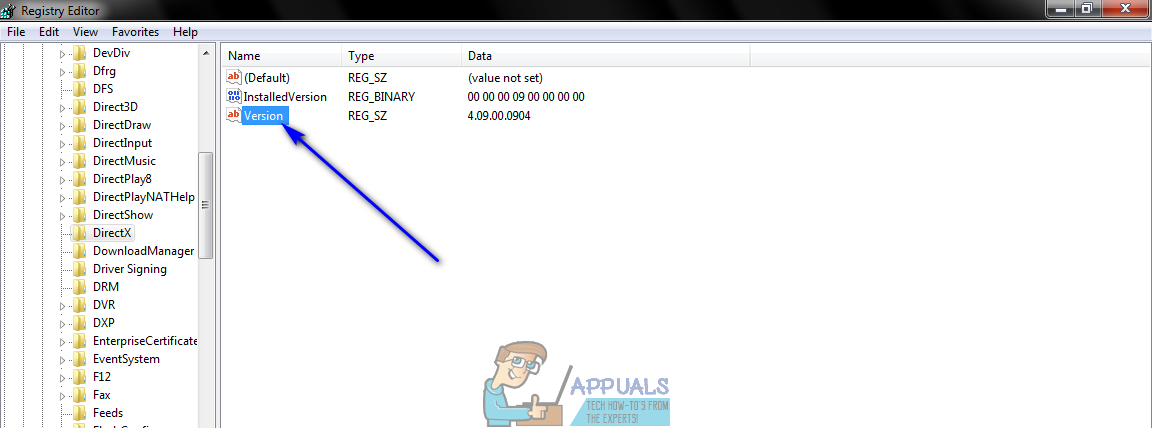
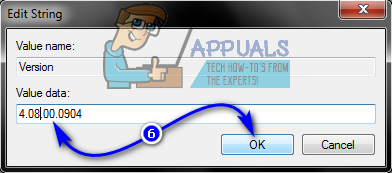
Method 2: Roll back the version of DirectX you have and then update it
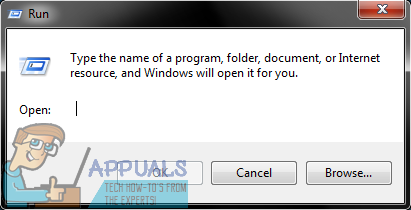
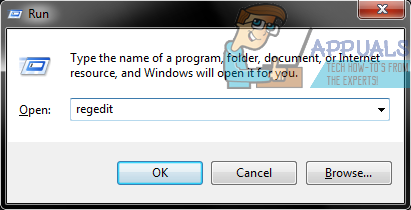
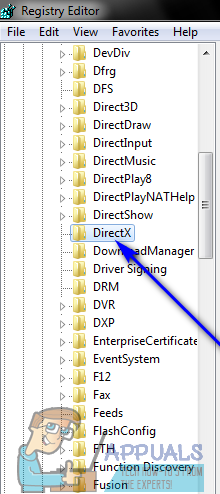
Another way you can basically achieve everything you do when you uninstall and then reinstall something, in the context of DirectX on a Windows computer, is to roll back the version of DirectX you have to an older version, and then update it to the latest available version. In order to do so, you need to:
How To Use Windows Fresh Start PC Reset For A Clean Reinstall Of WindowsHow to Fix DirectX encountered an Unrecoverable Error in Windows?How to Fix DirectX redistributable Failing to Install on Windows 10How to Reinstall Cortana on Windows 10