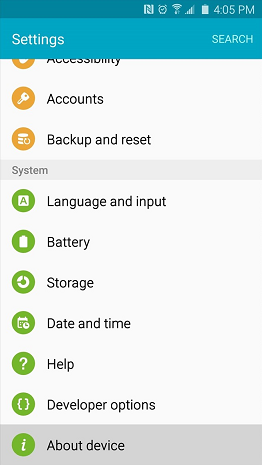
Technically, root is the administrator, such as the admin user account on your computer which allows you to make changes as you desire whereas the Standard Account on your computer will not allow you to make changes, such as installed programs. Although there are already root methods available for the Samsung Galaxy S6, these root methods, when used, trip the KNOX counter on the device. For those not familiar with this, KNOX detects system-level changes (such as rooting) on your Samsung Galaxy S6. A tripped KNOX counter on your device means your device’s software has been modified and this effectively voids your warranty. If you want to root your Samsung Galaxy S6 without tripping KNOX, developer idler1984 came up with PingPong Root, a new root method that gives you root access to almost all variants of the Samsung Galaxy S6 without tripping the KNOX counter. To root your Galaxy S6; follow the steps below. STEP 1: Ensure that the firmware version of your Samsung Galaxy S6 is supported. Although PingPong Root is compatible with most variants of the Samsung Galaxy S6, this rooting method only supports certain firmware versions of the handset. To check if you can use PingPong Root to root your handset, take note of your Samsung Galaxy S6’s firmware version by going to Settings > About device.
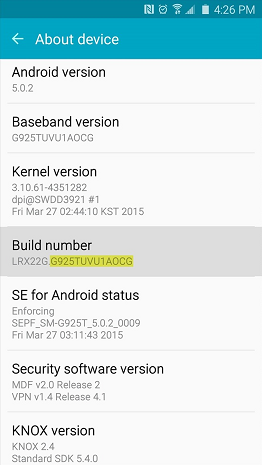
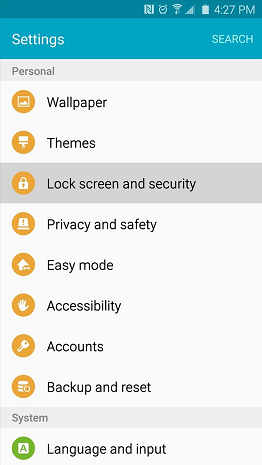
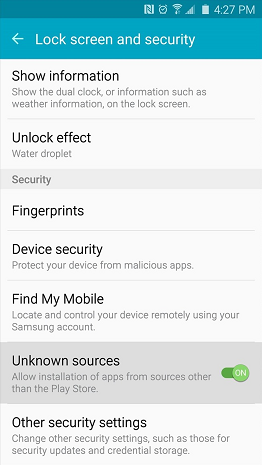
Write down your build number because this is what we need to check. See below the supported devices: Compare with the list above if your version is supported; if it is, we move on to the next step. If it isn’t, then we can’t root it until it becomes supported. new Use Download Data! G920FXXU1AOCY G920IDVU1AOC4 G920FXXU1AODI G9209KEU1AOD5 G920IDVU1AOBQ G9208ZTU1AOD9 G920FXXU1AOE3 G920IDVU1AOE3 G920FXXU1AOD8 G920FXXU1AOE4 G920AUCU1AOE2 G920T1UVU1AOCH G9208ZTU1AOCI G920IDVU1AOC6 G920IDVU1AOD3 G920FXXU1AOCZ G920AZTUU1AOD1 G9200ZHU1AOE4 G9200ZCU1AOE4 G920KKKU1AODC G920IDVU1AOE4 G920LKLU1AODC G920SKSU1AODC G920IDVU1BOE2 G9208ZTU1AOE4 G920PVPU1AOE2 G920W8VLU1AOE1 G920VVRU1AOE2 SC04GOMU1AOE1 Samsung Galaxy S6 Edge with following ROM versions: G9250ZCU1AODC G925VVRU1AOC3 G925FXXU1AOD9 G925PVPU1AOCF G925FXXU1AOCV G925AUCU1AOCE G925TUVU1AOCG G925W8VLU1AOCG G925IDVU1AOD1 G925SKSU1AOD5 new Use Download Data! G925FXXU1AOD4 G925R4TYU1AOD3 G925FXXU1AODG G925FXXU1AOCZ G925IDVU1AOD3 G925LKLU1AOD8 G925SKSU1AOD8 G925FXXU1AOE3 G925PVPU1AOE2 G925FXXU1AOD8 G9250ZTU1AODC G925FXXU1AOE4 G925AUCU1AOE2 G925TUVU1COE6 G925FXXU1AOCY G9250ZTU1AOE4 (5/11 kernel, seems not fixed yet, please test) G925R4TYU1AOE2 SCV31KDU1AOCP (Japan version of S6E?) G9250ZCU1AOCH G9250ZCU1AOE4 G925IDVU1AOE4 G925IDVU1BOE1 G925LKLU1AODC G925IDVU1AOE3 G925IDVU1AOE2 G925KKKU1AODC G925SKSU1AODC G925W8VLU1AOE1 G925VVRU1AOE2 G925R7WWU1AOE3 STEP 2: Install PingPong Root Before installing PingPong Root, you need to make sure that apps can be sideloaded on your Samsung Galaxy S6. To do this, go to Settings > Lock screen -> Security and enable the “Unknown sources” option.
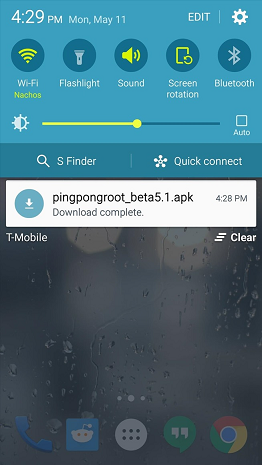
Once “Unknown sources” is already installed, the next step is to install PingPong Root. To download a copy of the PingPong Root APK installer file, connect your Samsung Galaxy S6 to the internet, open a web browser, and go to this LINK.
Once downloading is complete, tap the “Download complete” notification to launch PingPong Root.
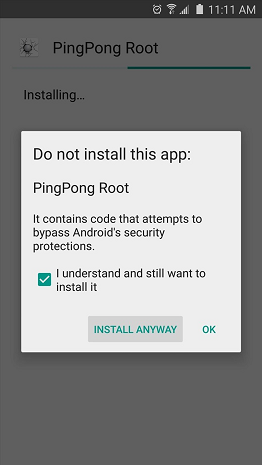
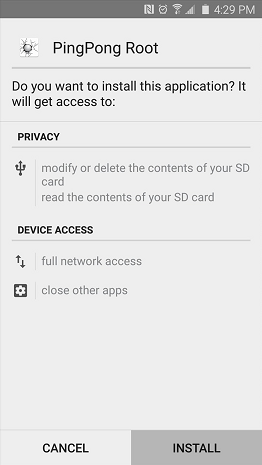
Tap “Install” and you will see a warning message that PingPong Root “contains code that attempts to bypass Android’s security mechanism.” Don’t worry – this is how PingPong Root works. Put a tick right next to a box that says “I understand” and tap “Install Anyway.”
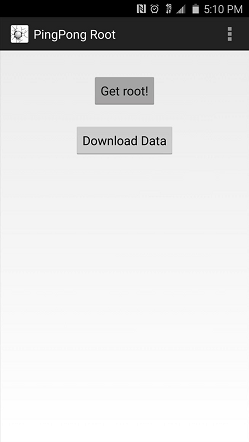
Once PingPong Root is installed, tap “Open” and the installer interface of Android will be launched. This time, it will ask you to install SuperSU, a root management app developed by Chainfire. Tap “Install” then tap “Done” once SuperSU has finished installing. STEP 3: Root your Samsung Galaxy S6 Once you have the main menu of PingPong Root up, you have two options – “Get root!” and “Download Data.” Select the “Download Data” option if the firmware version of your Samsung Galaxy S6 is listed in the “Download Data” section from Step 1. If it is not listed, tap “Get Root” to get the rooting process rolling.
A “Please Wait!!” screen will then come up. This means you should just wait and not do anything on your phone while the root process is taking place. Once the process is completed, reboot your phone. STEP 4: Update the Superuser Binaries Once your Samsung Galaxy S6 has been rebooted, you will see the SuperSU app installed in your app drawer.
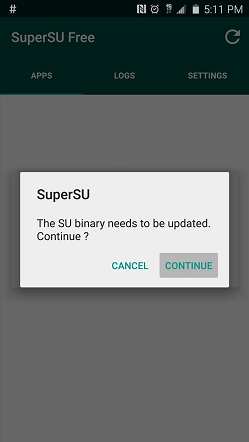
Launch SuperSU and it will ask you to update the SuperSU binaries. Tap “Continue” to do this.
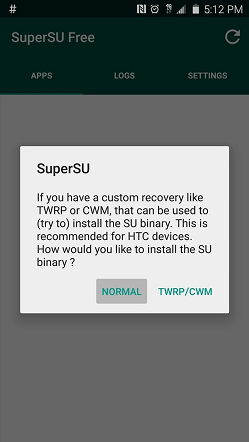
The app will then ask you how you want to update your binaries.
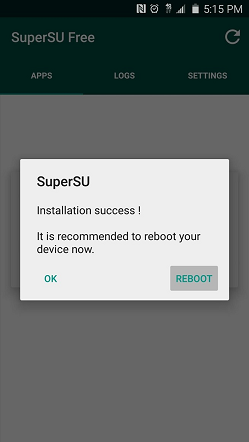
Choose the “Normal” option and wait for the binaries to be updated. Once the process is completed, tap “Reboot” to reboot your handset.
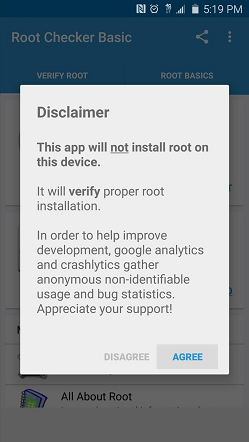
STEP 5: Verify that the root process is successful After the second reboot, your Samsung Galaxy S6 should be fully rooted. To check this, download Root Checker from the Google Play Store (the app is free) by clicking HERE. Once Root Checker has been installed on your Samsung Galaxy S6, launch the app and it will give you a popup. Just tap “Agree” then “Okay” and proceed to the next step.
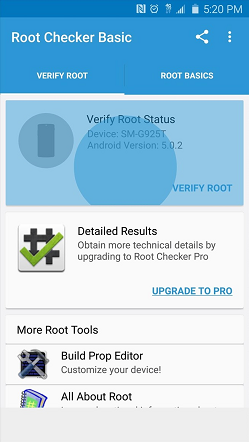
You will then get the main menu of Root Checker. Tap the option to “Verify Root” to check if the PingPong Root process was successful.
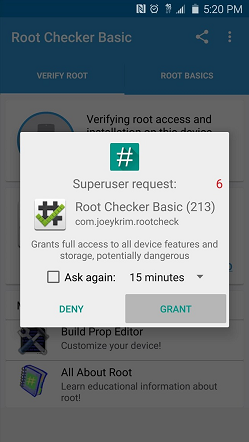
Root Checker will then access SuperSU – just tap “Grant” on the popup.
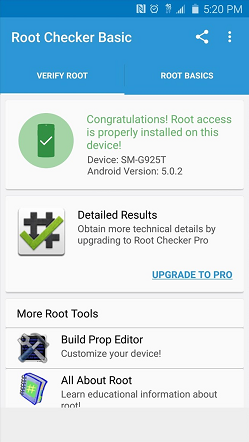
Once the process is completed, Root Checker will tell you that root access is properly installed on your Samsung Galaxy S6.
If for some reason the PingPong Root process is not successful, all you have to do is place your Samsung Galaxy S6 on Airplane Mode and run PingPong Root again starting from Step 3. Once you gain root access on your Samsung Galaxy S6, you can start customising your handset like never before. Be cautioned though that although PingPong Root will not trip your KNOX counter, it will disable OTA updates for your device.
How to Modify Miui ROMs for Flashing Without Tripping ARBHow to Root Your Nexus Phone using CF-Auto-RootHow to Root Your Samsung Phone Using CF-Auto-Root5 Methods to Unpair Apple Watch [Without or Without iPhone]