VAC is the Valve Anti-Cheat System. Its main job is detecting installation files anomalies where files might be manipulated to provide unfair means for players to gain an edge over other people. If you are getting this error even if you didn’t do anything wrong, it means there are problems with the configuration of the files. Start with the first solution and work your way down.
How to Fix VAC was unable to verify the game session Error?
1. Running Steam as Administrator
The first and foremost thing which we should check is if Steam has administrator access on your computer. Steam requires full access in order to provide you with the optimal gaming experience. This means changing system configuration files and having a lot of resources and memory at its disposal. Be default, Steam doesn’t have full administrator access.
We can grant Steam full administrative privileges and check if the problem gets solved. First, we should make the changes to the Steam.exe file and later grant the whole Steam directory access as there are various configuration files present in the main directory.
2. Verifying integrity of game files and repairing library
Most of the games available in Steam are very huge files consisting of several GB’s. It is possible that during the download/update, some of the data may have been corrupted. Steam has a feature within the client itself where you can verify the integrity of game files quite easily. This feature compares your downloaded game with that of the latest version present in the Steam servers. Once it is done crosschecking, it removes any unwanted files or updates them if needed. There are manifests present in each computer where a game is installed. Instead of checking the files one by one (which take hours), Steam compares the manifest present on your PC with the one in the servers. This way the process takes place much more quickly and efficiently.
We can also try repairing Steam Library files. Steam Library is the place where all your games are present and you can only access them through it. It is possible that your Steam library isn’t in the correct configuration. There may also be a case where you have installed Steam on one drive and your games are on another one. In that case, you have to repair both the libraries before launching your game again. Do note that this process takes some times as a lot of computation is going on. Don’t cancel the process in between to avoid any further errors. Furthermore, Steam may ask you to enter your credentials once it is done with the process. Don’t follow this solution if you don’t have your account information at hand.
3. Repairing Steam Client
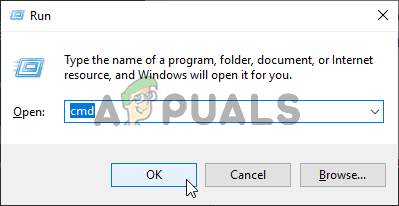
If both the above methods don’t work, there is also a chance that your Steam client is either corrupt or has some bad files present. We can fix this by executing a command on the command line. Do note that you might require administrator privileges to perform this solution. Here the path located within the colons indicate the location of Steam on your computer. You can change this if Steam is located elsewhere.
4. Power Cycling your Computer
If all the above methods don’t bear any fruit, we can try power cycling your system. Power cycling is an act of turning off a computer completely off and then on again. Reasons for power cycling include having an electronic device reinitialize its set of configurations parameters or recover from an unresponsive state or module. It is also used to reset all the network configurations as they are all lost when you turn the laptop completely off. To power cycle your laptop shut it down properly and remove all the wires from it. Next remove the battery properly and detach it. Press the Power button for 1 minute. Now, wait for around 2-3 minutes before plugging the battery back in. The reason for taking out the battery is to make sure that all the capacitors are discharged correctly and all the current data stored in RAM is lost. After turning the laptop back on, check if the problem got solved. In case of a PC, shut it down completely, disconnect all modules and take out the main power cable. Now after waiting for the required time, plug everything back in and check if this solved the problem.
5. Ending Steam Service
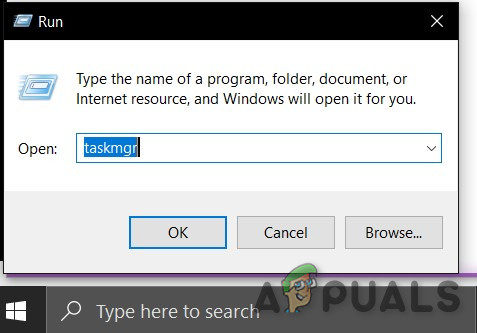
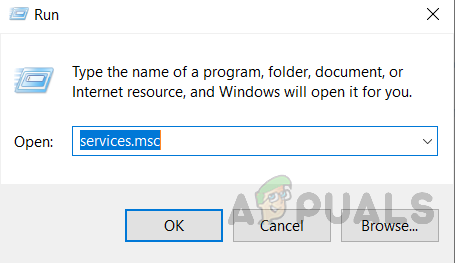
In some cases, the steam service might already be running in the background and it might have been glitched due to which this error is being triggered. Therefore, in this step, we will be ending the steam service. In order to do so, follow the guide below.
6. Copying DLL File
There are two steam service dll files located on your computer, one in the Program Files and the other one in the steam installation directory. In certain cases, these files might differ from each other due to which Steam is unable to verify your session. Therefore, in this step, we will be copying this DLL and replacing it with the other one. For that:
7. Deleting Temporary Files
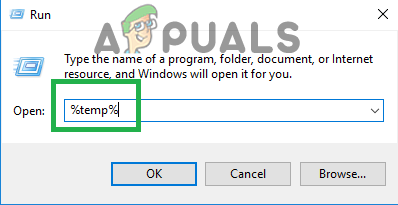
In certain cases, the temporary files that are being stored by the computer might have gotten corrupt over time due to which this error is being triggered. Therefore, in this step, we will be deleting these temporary files and then check if the error still persists.
8. Performing a File Repair
In certain cases, the error is triggered if important steam library files are corrupted. Therefore, in this step, we will be performing a file repair. In order to do so, follow the steps listed below.
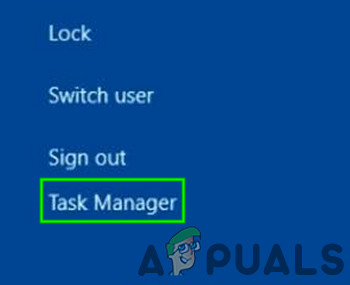
9. Checking for Background Services/Tasks
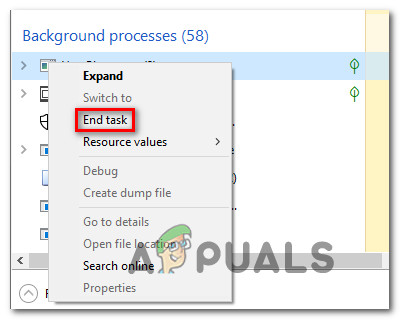
Virtualizations Softwares and other VPN/Proxies might be the root behind this issue because VAC can sometimes flag you if you are running any of these. Therefore, in this step, we will be stopping all of these Softwares from running in the background.
10. Try Some General Fixes
In addition to the methods above, try the following steps to initiate some further troubleshooting.
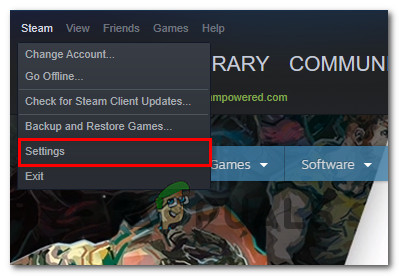
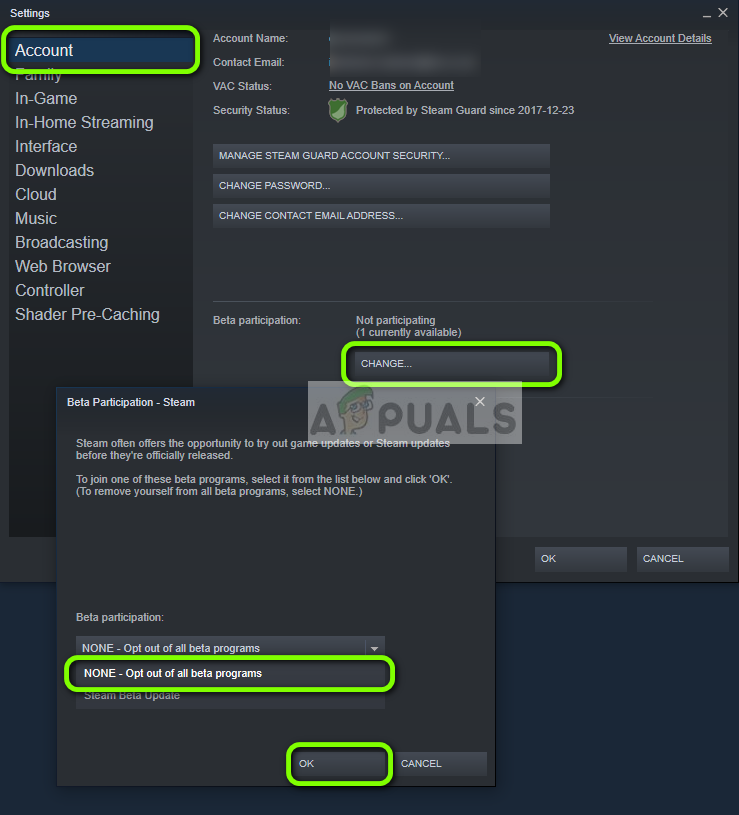
11. Turn off Steam Beta
In some cases, the Beta mode of Steam might be causing this issue. Therefore, in this step, we will be opting out of the beta program for Steam. In order to do so, follow the guide below.
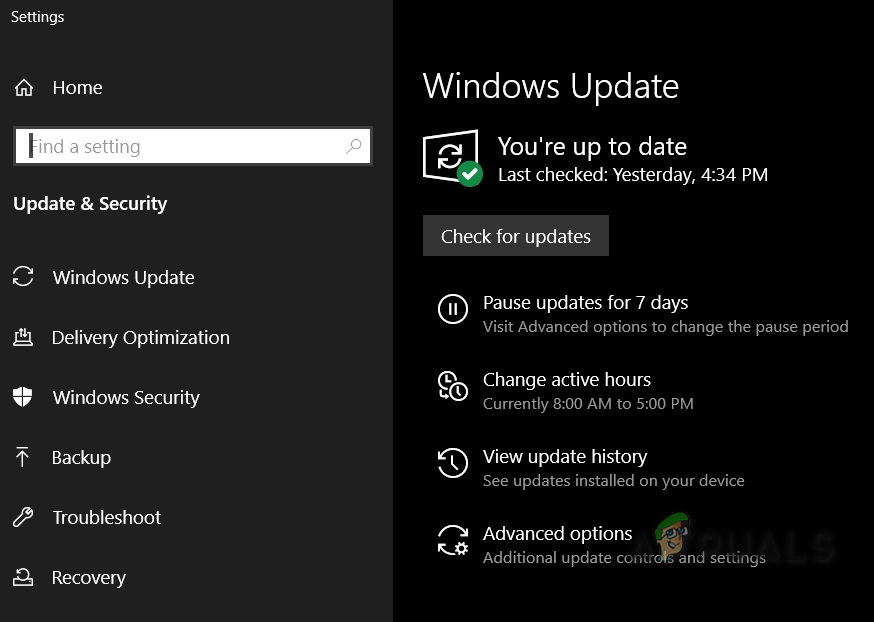
12. Updating Windows
In certain cases, having an outdated version of Windows leaves your computer vulnerable to many risks and creates an opportunity for failure. Therefore, in this step, we will be initiating a Windows update and check to see if the issue still persists after updating Windows. For that:
How to Fix the VAC Authentication ErrorHow to Fix the ‘Disconnected by VAC: You Cannot Play on Secure Servers’ Error on…Fix: “We Were Unable to Verify the Products You Own” Error in MinecraftFix: “There is a problem with your game’s setup. Please reinstall your game."…